Capturing the Northern Glow: Your Guide to NWT Aurora Photography Without the Fuss

Capturing the Northern Glow: Your Guide to NWT Aurora Photography Without the Fuss
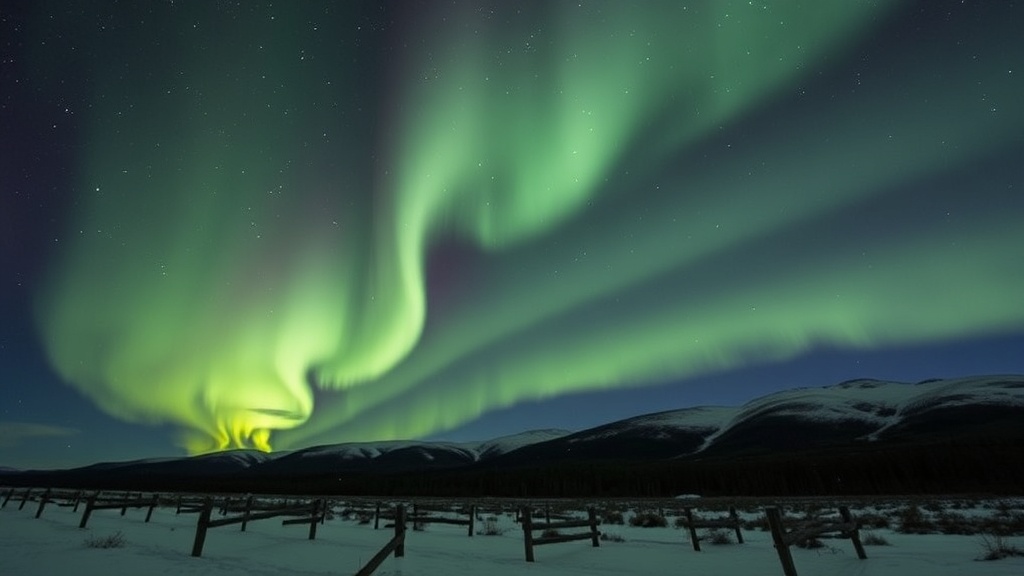
It's easy to assume that photographing the Aurora Borealis, that breathtaking celestial dance over the Northwest Territories, demands a heavy investment in professional camera gear or years of photographic schooling. Many arrive here imagining they'll simply point their smartphone skyward and capture magazine-worthy shots, only to find their efforts fall flat against the immense, dark sky. The truth, however, is a little more nuanced than either extreme, and far more accessible than you might think. This guide cuts through the technical jargon, offering practical advice to help you capture stunning images of the Northern Lights, whether you're working with a sophisticated DSLR or a modern smartphone. We’ll cover everything from equipment and settings to finding the perfect viewing spots, ensuring your memories of this incredible natural phenomenon are preserved beautifully.
What gear do you actually need for aurora photography?
The biggest myth about capturing the Northern Lights is that you absolutely need a top-tier, full-frame DSLR with expensive prime lenses. While those tools certainly help, they aren't prerequisites for incredible results. Many modern interchangeable-lens cameras—even older models—can perform admirably. The key is a camera that allows for manual control over exposure settings. That means you’ll want to adjust ISO, aperture, and shutter speed yourself.
A fast lens is probably your most impactful piece of equipment. Look for lenses with a wide aperture, ideally f/2.8 or wider (f/1.8, f/1.4). These 'fast' lenses allow more light to hit your camera's sensor, which is absolutely vital in the low-light conditions of aurora photography. If your camera came with a kit lens, check its widest aperture—it might be f/3.5 or f/4. While not ideal, it can still work with adjustments elsewhere.
Beyond the camera and lens, a sturdy tripod is non-negotiable. Long exposures, often 10 to 30 seconds, mean any camera shake will result in blurry photos. A stable base is your best friend. Don't skimp on this; a flimsy tripod will cause endless frustration. A remote shutter release, either wired or wireless, or using your camera’s self-timer (2-second delay), will prevent further camera shake when you press the shutter button.
What about smartphones? While they’ve come a long way, pure point-and-shoot won’t get you much in dark skies. You’ll need a phone with a 'Pro' or 'Manual' mode that lets you control ISO, shutter speed, and focus. Many newer high-end smartphones have this built-in, or you can download third-party camera apps. Even with a phone, a small tripod or stable surface is still a must for those long exposures. Remember to bring extra batteries or a power bank; cold weather drains them quickly.
How can you find the best spots and times to see the aurora?
Seeing the aurora isn't just about clear skies; it’s about timing and location. Light pollution is your biggest enemy. To witness the aurora in its full glory, and to capture it well, you need to get away from city lights. In and around Yellowknife, that means driving out along the Ingraham Trail or finding a spot on one of the frozen lakes in winter, well away from any streetlights or buildings. Knowing the local geography, like quiet bays or stretches of highway, makes a real difference. Sometimes, the best spots are just a short drive outside town, where the sky opens up without interference.
Monitoring aurora forecasts is key. Several websites and apps provide real-time data on geomagnetic activity, often using the KP-index—a scale from 0 to 9 indicating the intensity of the aurora. A KP-index of 3 or higher usually means good viewing potential in the NWT, but even a KP 2 can put on a decent show if conditions are right. Combine this with a clear sky forecast, and you’re in business. My personal recommendation? Find a reliable local source—a tour operator or a seasoned local—who regularly posts updates; they often have the best feel for what’s happening in the moment. The